How to safely clean your PC's GPU to avoid damaging it in the process
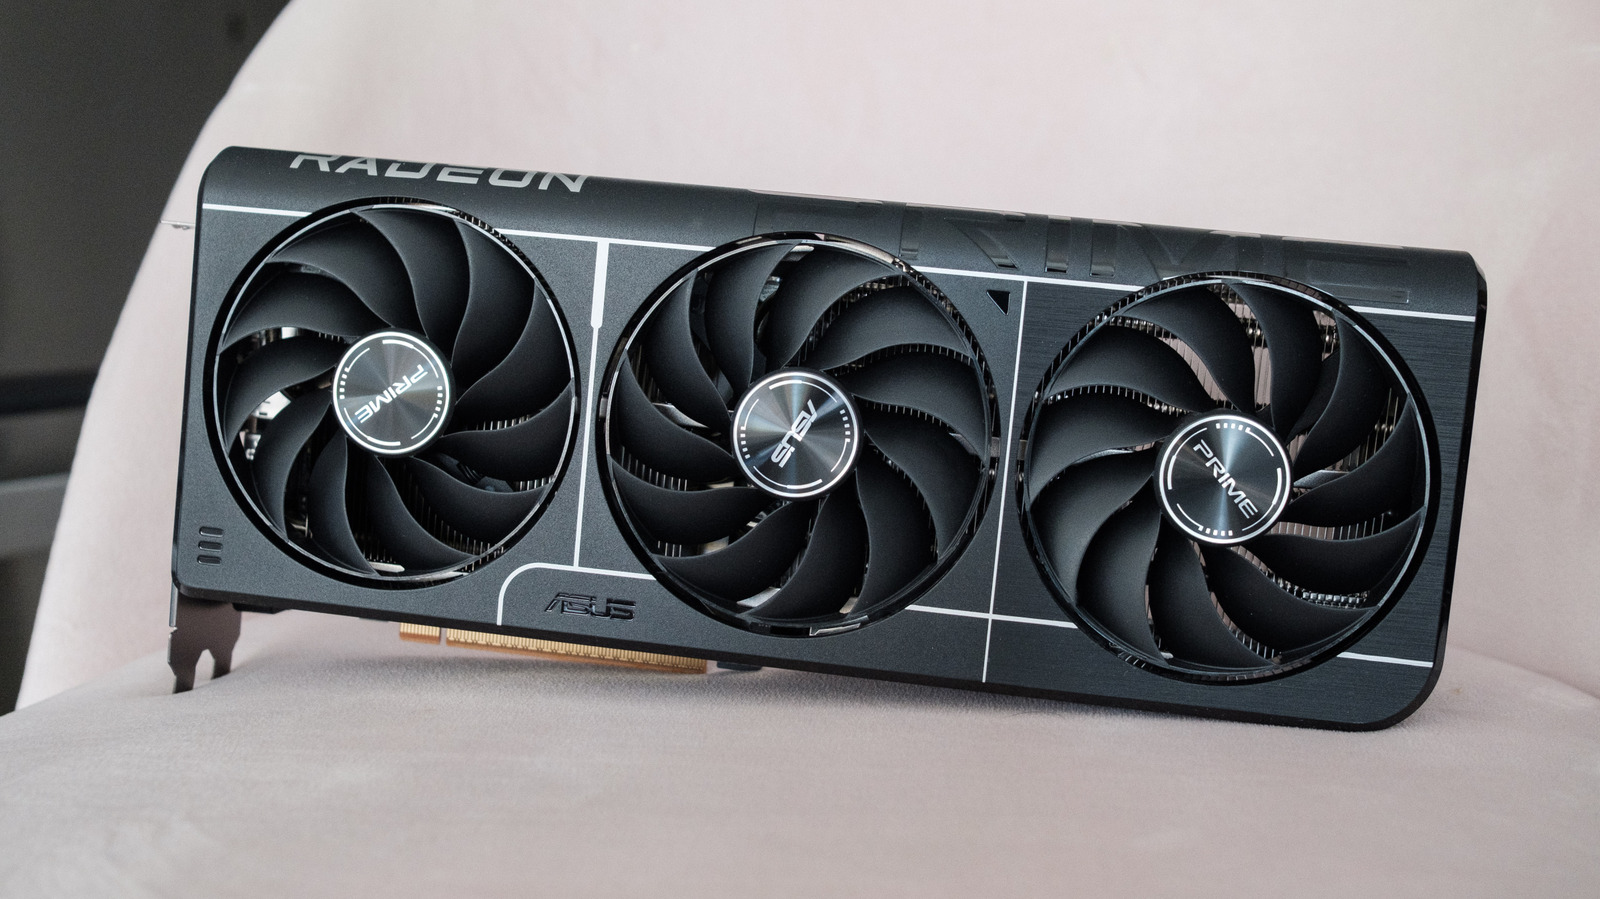
Removing and cleaning a GPU can be intimidating, but it's actually pretty simple.
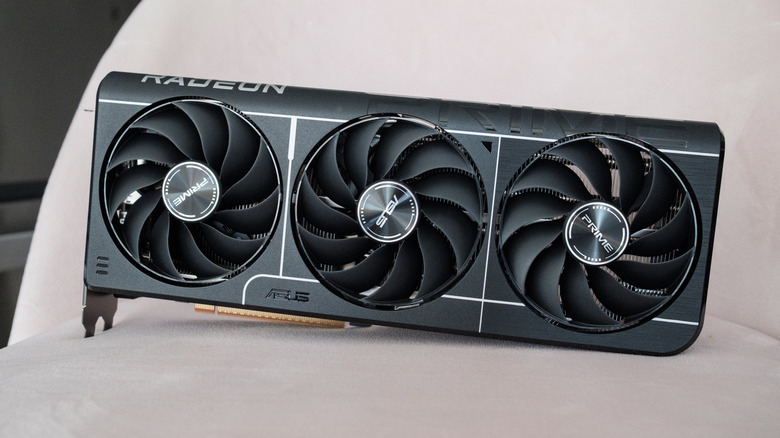
Igor Bonifacic for Engadget
Like any PC component, your graphics processing unit collects dust over time. In turn, that can affect its thermal performance, causing your card to run at lower clock speeds and, over time, shorten its lifespan. With GPU prices what they are in 2026, you don't want to replace your current one if you can avoid it. So it's a good idea to clean your GPU every three to six months or so.
Opening your case and removing the GPU to clean it can be intimidating, but if you follow this guide, you'll learn how to do it safely.
How to open your PC case safely
Igor Bonifacic for Engadget
When I go to clean my PC's GPU, I find it's best to remove it from the case. This ensures any dust is cleared entirely from the system.
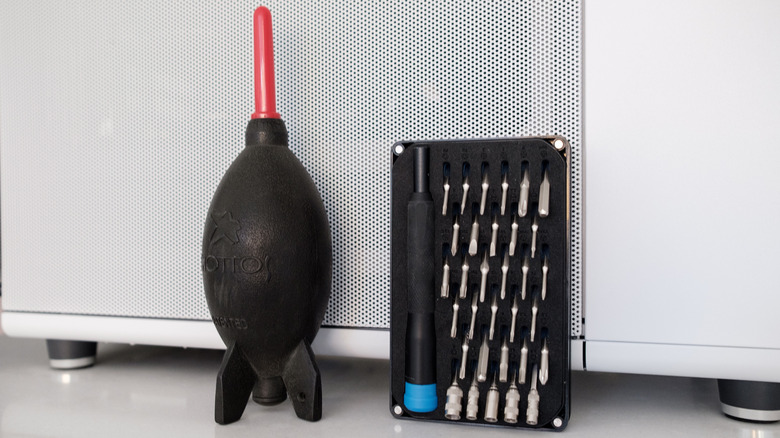
Safely removing the GPU starts with properly powering down your PC, and then opening the case to access the internal components. Depending on the design of your case, you may not need a screwdriver to crack open your chassis; some configurations only require loosening some thumbscrews. With older cases, you might need a Phillips head screwdriver. If you don't own one already, iFixit sells a handful of great bit kits for DIY repairs. As an additional precaution, spending about $8 on an anti-static wrist strap is also worthwhile, but not necessary.
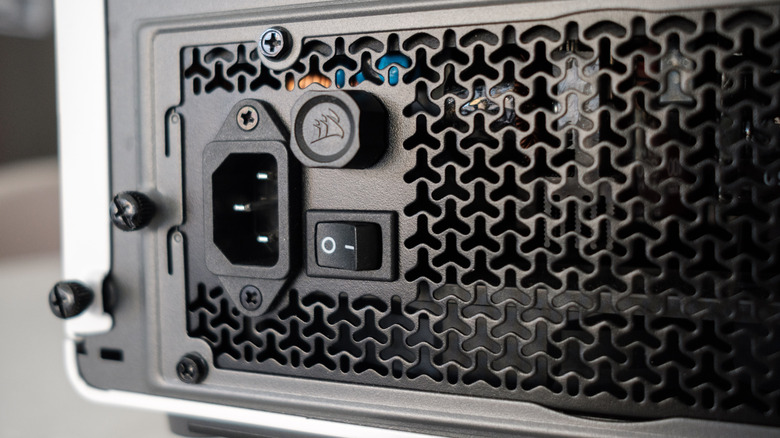
Once you have all the tools you need in front of you, start by turning off your PC and unplugging any cables that are connected to it. Next, switch the power supply unit to the "O" position, and then press and hold down your PC's power button for about 30 seconds to discharge all the capacitors inside. Your computer is now safe to open. If you bought an anti-static wrist strap, now is the time to put it on and attach the ground to your PC's case.
How to clean your GPU safely
Igor Bonifacic for Engadget
With your PC powered down, you can now safely remove the GPU. I find this is easiest to do if I lay the case horizontally on a table. If you still have the box your video card came in, dig it out and get the anti-static bag ready. (You didn't throw that out, did you?) Next, follow the steps below in the exact order listed. If at any point you encounter resistance, do not try to force your GPU out of its PCIe slot.
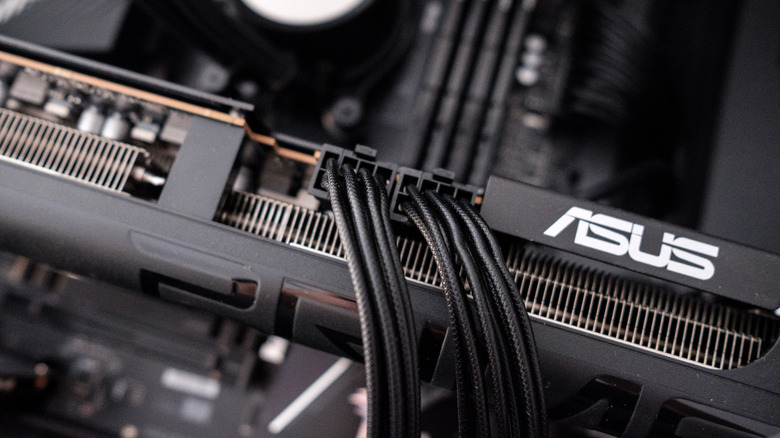
- Unplug any and all PCIe power cables connected to your GPU. Depending on the model of your GPU, there may be as many as three cables to detach.
- Loosen and remove the screws securing your GPU to the back of your PC. Depending on the design of your case, you may need to use a screwdriver to accomplish this task.
- Push down the PCIe tab, button or latch to release your GPU from your PC's motherboard. Depending on the size of your card, the tab or latch may be obscured.
- Using both hands, gently pull your GPU out with even force across both ends of it.
- Place the GPU, PCB side down, on a box or on top of the anti-static bag it came inside of.
Once you've safely removed your video card from your PC, you can now go about cleaning it. For this part of the process, you'll need an air blower or a can of compressed air. I prefer the former as it's a one-time purchase. A microfiber cloth and 90 percent isopropyl alcohol are also handy if your GPU requires a deeper clean.
It's fine if you don't feel comfortable removing your GPU; you can still clean it following the advice laid out below. However, ideally take your PC somewhere outside and dust it there.
If you take nothing else from this guide, remember this next tip. When you go to clean the fans, use a hand to keep them in place, and then use a duster or compressed air to dislodge any debris. Do not allow the fans to spin freely when you blow air into them. This can over-spin a fan, damaging its bearings and sending current back into the card's fan controller. If you're using compressed air, keep the can upright to prevent it from spraying liquid propellant.
If your GPU's backplate and protective casing are dusty, apply some isopropyl alcohol to a clean microfiber cloth and gently wipe down those parts, being careful that the cloth does not get caught on any solder joints. With your GPU out of the case, this is also a great opportunity to clean other components.
Once your GPU is clean, reinsert it following the steps above in reverse order. Two things worth flagging: First, insert your GPU into your PC's fastest PCIe slot. On most motherboards, that's the top-most slot. Second, when you go to re-plug the PCIe power cables, make sure they're properly seated.
Some final tips
Igor Bonifacic for Engadget
With regular cleaning, your current GPU should last you for years to come. If you find it collects a lot of dust in between cleanings, you may want to rethink your PC's cooling setup. In my experience, a case with slightly positive air pressure is best for reducing the frequency of your PC-component cleanings. Put another way, you want your PC to intake more air than it expels. This makes it more likely for air to travel through your PC's dust filters. It's a setup that's not possible with every case, so don't sweat it if it's not perfectly achievable with your computer.
Conversely, if you're not happy with your GPU's thermals even after cleaning it, it's worth playing with the fan curve of your case fans, and configuring them to speed up with the temperature of your video card. How you go about this will depend on your build, so I can't provide specific instructions. Apps like Fan Control can help you get started. As a rule of thumb, if your GPU runs anywhere between 60 degrees to 80 degrees Celsius under full load, it's in a good place. Obviously, cooler is better, but there are a lot of factors that can affect GPU thermals.
Lastly, if you've owned your current GPU for a while, repasting it may be worthwhile. Precisely how to go about that is outside the scope of this guide, but you can find plenty of tutorials on YouTube.
KioskNews shows a cleaned-up reading view extracted from the publisher’s page — the original always lives on their site, not ours.